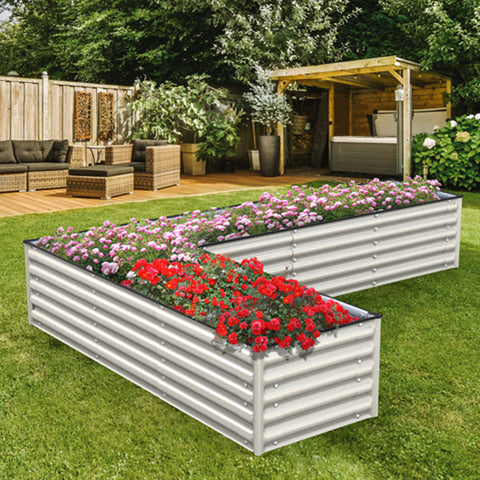
A Simple Method to Raise the Height of a Metal Garden Bed by Placing it on Bricks
Metal garden beds are a popular outdoor furniture that is both aesthetically pleasing and durable. However, sometimes we may need to increase the height of the garden bed to better adapt to individual needs. This article will introduce a simple method of placing a metal garden bed on bricks to achieve height improvement.
Step 1: Prepare the required materials and tools
To complete this project, you will need the following materials and tools:
Metal garden bed
Bricks (quantity depends on the height you need to increase)
Mortar
Level
Rubber hammer
Gloves and safety glasses (to ensure safe operation)
Step 2: Determine height and position
Firstly, determine how high you would like to raise the garden bed. This will help you determine the required number of bricks. In addition, choose a flat location to place the garden bed and ensure that it is suitable for your planting needs.
Step 3: Prepare bricks and mortar
Before placing the bricks under the garden bed, you need to prepare the bricks and mortar. Ensure that the bricks are clean and trim them to their size as needed. Then, according to the instructions on the brick packaging, prepare an appropriate mortar mixture.
Step 4: Place bricks
Now you can start placing the bricks under the garden bed. Use a level to ensure that the bricks are placed smoothly. Apply a layer of mortar below each brick and gently tap the bricks with a rubber hammer to ensure they are tightly bonded with the mortar.
Step 5: Wait for the mortar to dry
After placing the bricks, please follow the instructions on the mortar packaging and wait for the mortar to completely dry. This usually takes a period of time, depending on the type of mortar used and environmental conditions. Ensure to avoid moving or using garden beds during this period.
Step 6: Place a metal garden bed
Once the mortar is completely dry, you can place the metal garden bed on the bricks. Ensure that every corner of the bed is smoothly supported on bricks, and gently tap the four corners of the bed with a rubber hammer to ensure they are firmly connected to the bricks.
Step 7: Test stability and adjustment
Once the metal garden bed is placed on bricks, you can conduct a stability test. Gently shake the garden bed to ensure it is not loose or shaking. If necessary, the position of the bricks can be adjusted or additional mortar can be added to increase stability.
Step 8: Enjoy the height and stability of improvement
Now, you have successfully placed the metal garden bed on bricks, increasing the height of the bed and increasing its stability. You can plant flowers, vegetables, or other plants on the bed as needed, while also making it easier to maintain and clean the bed.
By placing a metal garden bed on bricks, you can easily increase the height of the bed and have a better planting experience. This simple method is not only simple and practical, but also provides additional stability and support, ensuring that the bed is more stable in outdoor environments. Whether you want to increase the height of the garden bed or improve its stability, this method is a practical and feasible choice. Now, you can fully enjoy the fun of creating a beautiful garden on a raised metal garden bed!


